

How to live stream from an iPad (and what you need)
Everything you need to go live from an iPad: the gear, the setup, and how to stream to YouTube, Facebook and more with names, slides and sound.
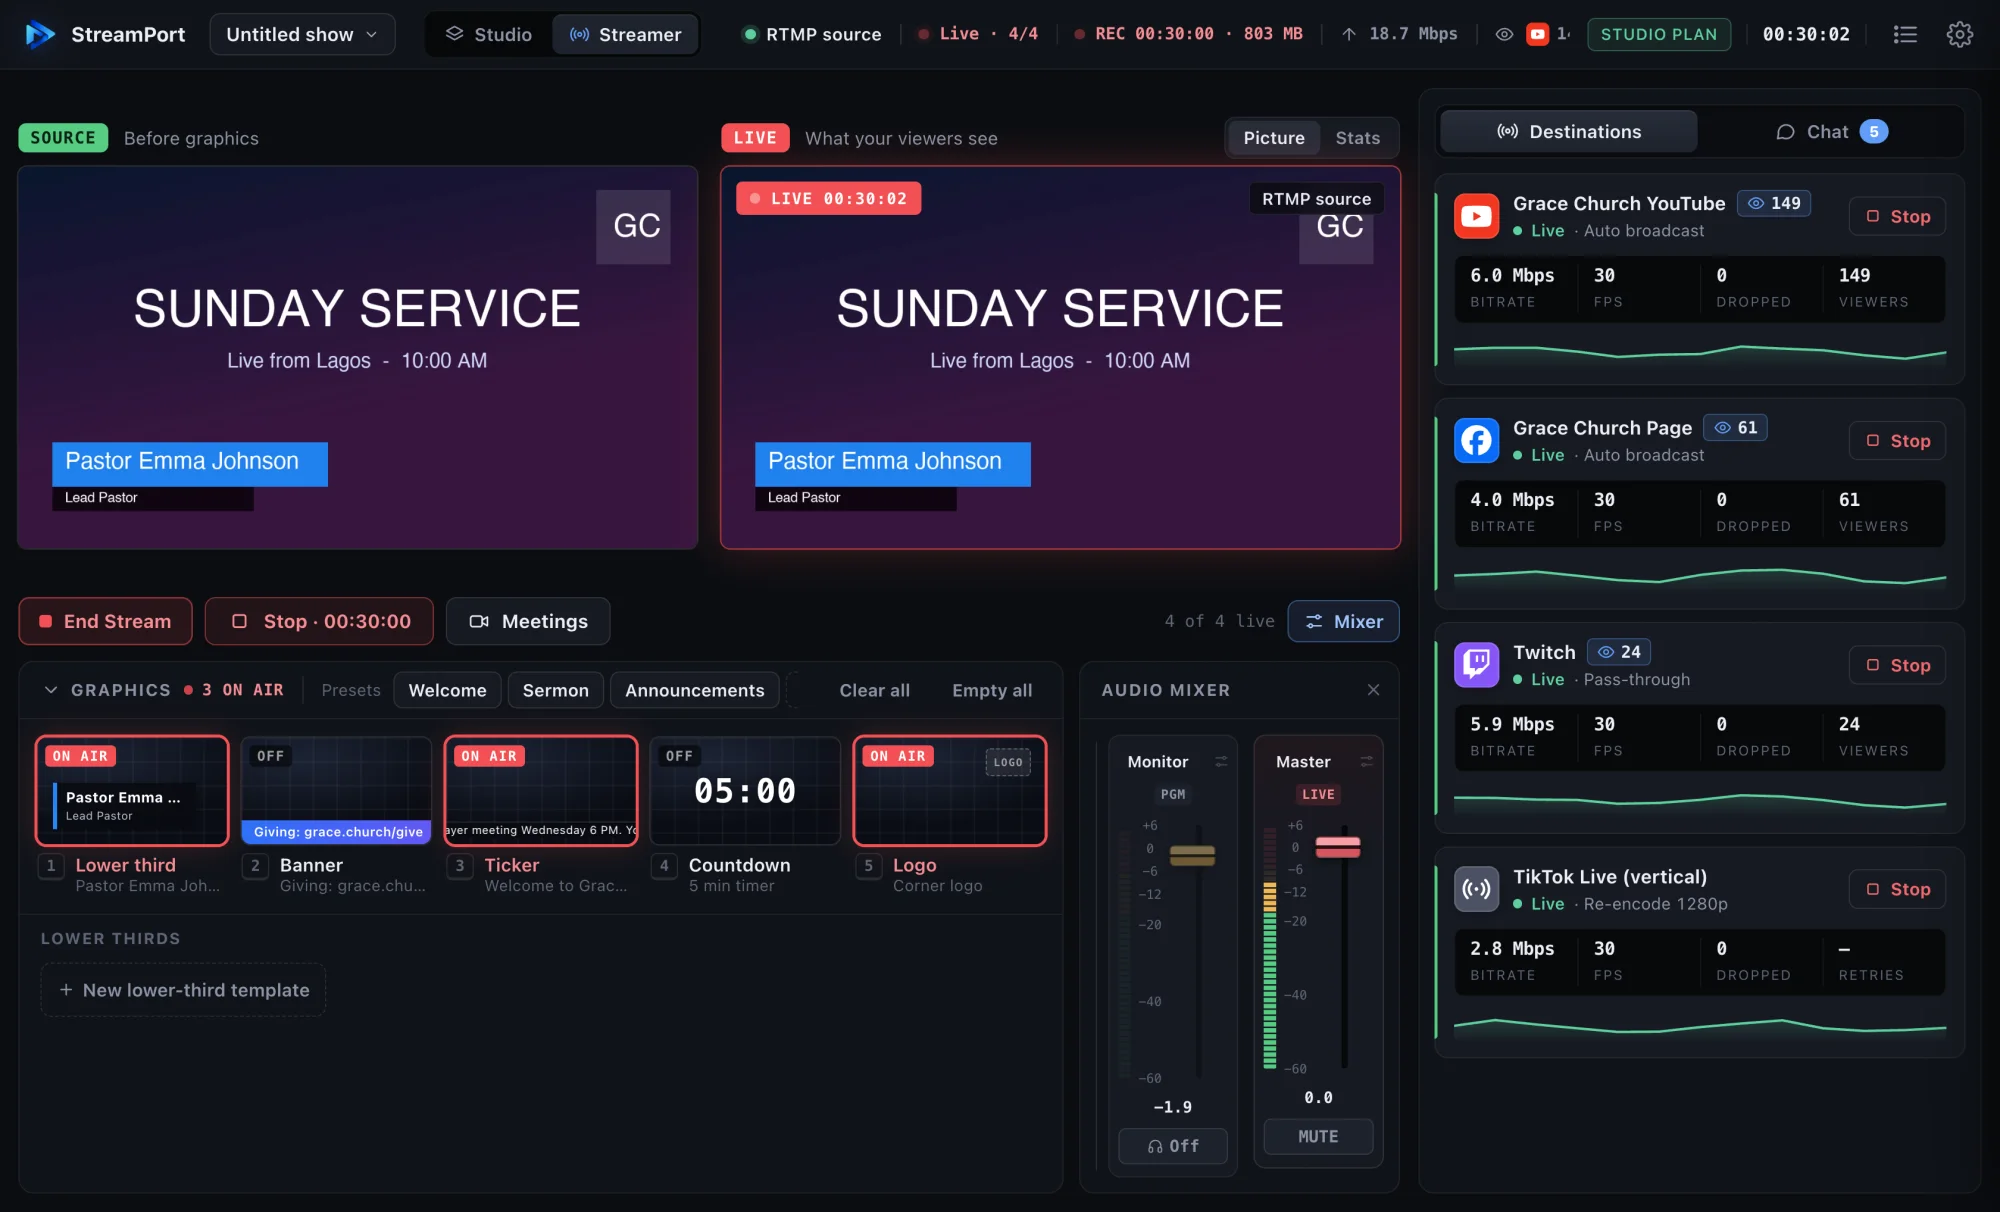
An iPad is a camera, a screen and a computer in one. That is everything you need to go live. With the right app you can also put names, slides, music and guests on the stream, and send it to several platforms at once.
What you need
- An iPad running iPadOS 17 or newer. Its built-in camera and microphone work for a first stream.
- A steady internet connection. Wi-Fi is fine if the signal is strong. For important streams, use a wired connection with a USB-C network adapter.
- A stand or tripod so the picture is steady and at eye level.
- Good light. Face a window, or put a lamp behind the iPad. This matters more than the camera.
- Optional: a USB-C microphone or camera. Clear sound is the best upgrade you can make.
Step 1: Choose where to stream
Decide which platforms you want: YouTube, Facebook, Twitch, or any service that gives you an RTMP address and a stream key. Each platform shows these in its “Go live” or “Stream settings” page. Copy them somewhere you can reach from the iPad.
Step 2: Add your destinations in StreamPort
Open the destinations panel, add each platform, and paste its key. Keys are private: don’t share them or post screenshots that show them. You only do this once; after that, going live is one tap.
Step 3: Set up your picture
Pick your camera: the front or back camera, or a USB-C camera you plug in. Choose a layout, such as you alone, you beside your slides, or you with a guest. StreamPort mixes the picture at 1080p, so what viewers see matches what you see on screen.
Step 4: Add the things that make it look professional
- Names and titles (lower thirds) so viewers know who is speaking.
- Slides from a PowerPoint or PDF file, with your notes beside you.
- A countdown before you start, so people can arrive.
- Your logo in a corner.
- Music that lowers when you speak.
Step 5: Check your sound
Talk and watch the meter. If it stays in the middle, you are fine. If it hits the top, move back or turn it down. Listen with headphones for a minute before you go live. Viewers forgive a soft picture; they leave when they can’t hear you.
Step 6: Go live and record
Press Record to keep a copy in your Files app, and Go Live to start streaming. StreamPort asks you to confirm first, so a stray tap never puts you on air. Watch the connection indicator while you stream. If the signal drops, StreamPort reconnects on its own.
Before every stream: a quick checklist
- iPad charging, and Do Not Disturb on so notifications don’t pop up on screen.
- Internet checked, with a strong signal.
- Camera clean, light on your face.
- Sound tested with headphones.
- Destination keys pasted and correct.
Common questions
Can I use the iPad’s back camera? Yes. It is sharper than the front camera, but you can’t see yourself, so check your framing first.
Can I stream to two platforms at once? Yes. Add each destination and they go live together.
Can a guest join? Yes. Send them a link and they join from a browser. See how to bring remote guests onto your livestream.
What about church services? The same steps apply. See how to run a church livestream with one volunteer.
Go live from your iPad with StreamPort
Also on iPhone and Mac. Try it free for 14 days.
Keep reading
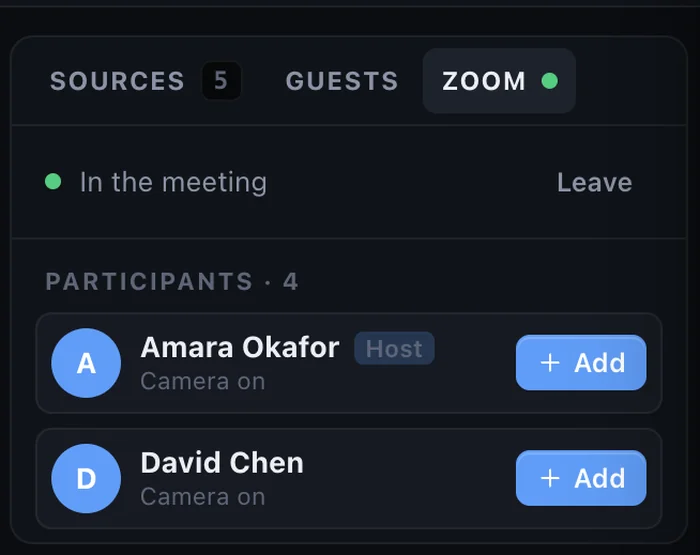
How to add a remote guest to your livestream from an iPad
Invite a guest with a link: they join from a browser with no app or account, wait to be let in, and appear in your show on your iPad.
StreamPort for iPad: what the free trial includes and what each plan adds
Try every feature free for 14 days with a small watermark, then pick Solo or Pro. Here is exactly what changes and which plan fits you.
How to stream to YouTube and Facebook at the same time on a Mac
Go live on YouTube, Facebook and other platforms at once from one Mac, without a paid relay service or a second computer.